In this tutorial we're going to create a character object with different facial expressions. We will use the <Set> object type because it will let us define a number of "states", each showing a different face. The states can be selected and changed from within Novelty.
Related articles:These are the textures that will be used in this tutorial:
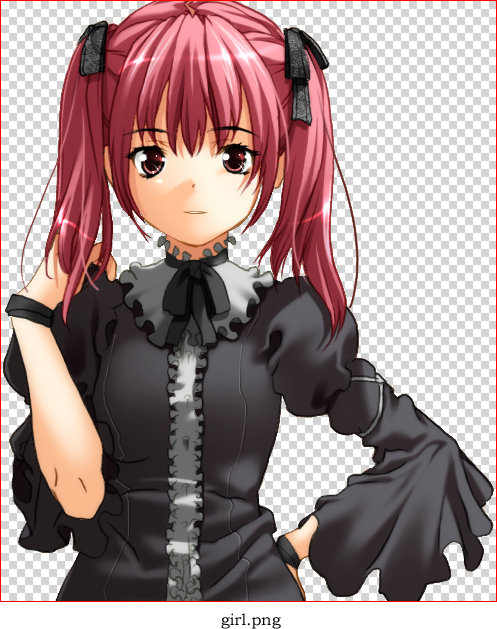
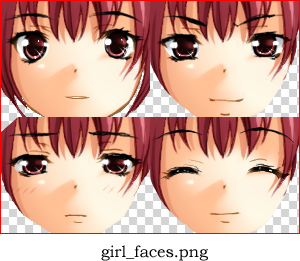
The first texture will be our base and the second holds the different face expressions.
This is how they are loaded in NoveltyML:
<Texture name="tex_girl"       source="Assets/Textures/girl.png" />
<Texture name="tex_girl_faces" source="Assets/Textures/girl_faces.png" />
First we need to create a new Set object. What's important to note here is that we need to set a canvas-size. If we don't the size will default to (0,0) and we won't be able to see our object. In this case we'll use the size of our base texture, which is 495 x 600. Let's name this object "My character" and add a default <State>.
<Set name="My character" canvas-size="auto" >
	<State name="Default" >
	</State>
</Set>
Next we need to add the base texture and we'll use an <Image> to do that. All we have to do is point it to the correct texture.
<Set name="My character" canvas-size="auto" >
	<State name="Default" >
		<Image texture="tex_girl" />
	</State>
</Set>
That's it for the first state. Next we'll add another with a different expression.
Next we need to add more states for the rest of the faces. To do this, we will copy the previous state and place another <Image> ontop of the previous one. But first, let's examine the second texture.
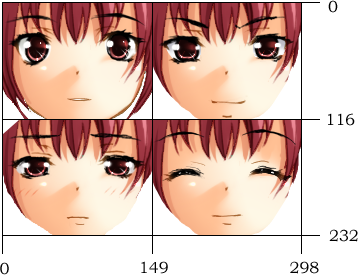
Here we can see the pixel coordinates of each face. We can use these to cut and paste sections from the texture to use on in each state. Let's use the happy face in the bottom right corner. First we'll simply copy and paste the previous state and rename it.
<Set name="My character" canvas-size="auto" >
	<State name="Default" >
		<Image texture="tex_girl" />
	</State>
	<State name="Happy" >
		<Image texture="tex_girl" />
	</State>
</Set>
Next we'll add another image ontop of our base that uses the second texture and a <Frame>, specifying which part of the texture we wish to use.
<Set name="My character" canvas-size="auto" >
	<State name="Default" >
		<Image texture="tex_girl" />
	</State>
	<State name="Happy" >
		<Image texture="tex_girl" />
		<Image texture="tex_girl_faces"
		       rect="149,116,149,116"/>
	</State>
</Set>
The new image will be placed in the upper left corner of our <Set> object by default. That's not really what we want. We want the face to overlap the base texture seamlessly. To do this we need to move the face from (0,0) to (118,115). That's easily done by setting the position attribute.
<Set name="My character" canvas-size="auto" >
	<State name="Default" >
		<Image texture="tex_girl" />
	</State>
	<State name="Happy" >
		<Image texture="tex_girl" />
		<Image texture="tex_girl_faces"
			 rect="149,116,149,116"
			 position="118,115"/>
	</State>
</Set>
Now that we are done with the first couple of states it should be an easy feat to create the other ones by copying and pasting our code and simply changing the frame coordinates.